Hello! Just a simple tutorial that demonstrates how to create a simple (maybe too simple) UMG Widget, and print it in a HUD. All of that implemented with Blueprints only!
As a famous Italian plumber would say: Here we gooooo!
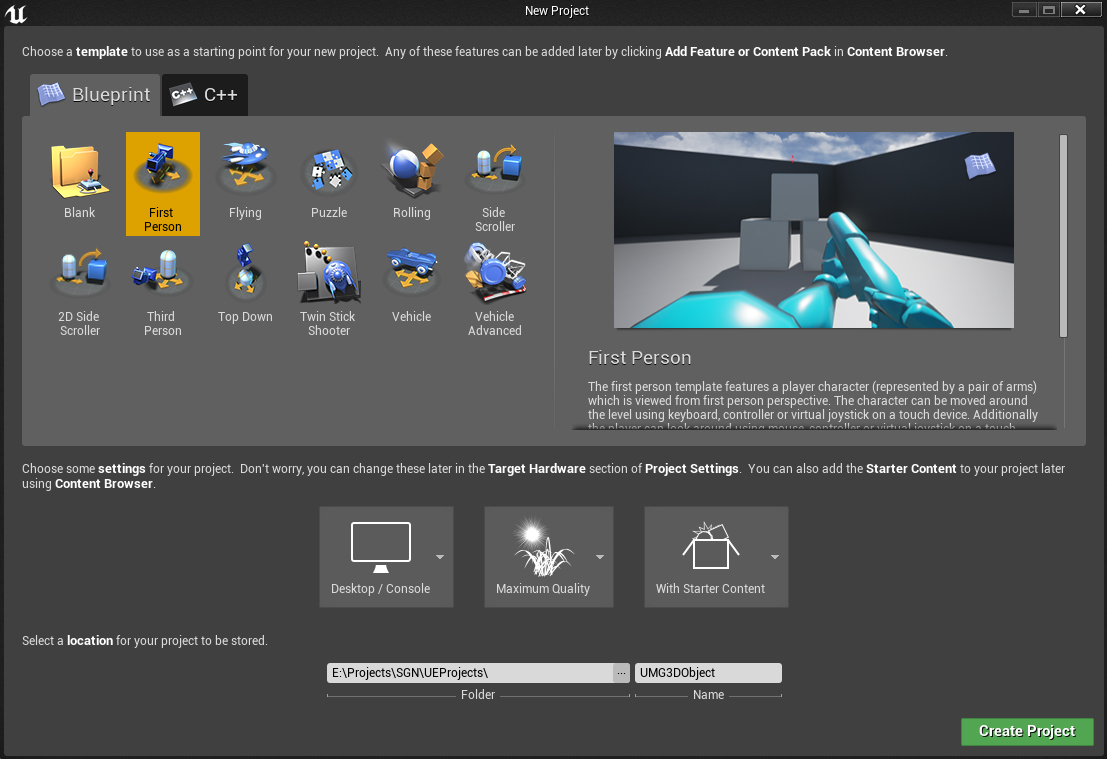
As a very first step, I am creating a new project (File -> New Project), and I am selecting the First Person template.
Create a new folder in the Content Browser, then add a Widget Blueprint  in it (Add New -> User Interface -> Widget Blueprint). I named it ‘HUDWidget’.
Edit that Widget, and simply add a TextBlock in the default created CanvasPanel, so that we can see our HUD is working. Place it wherever you like. This should look like this:

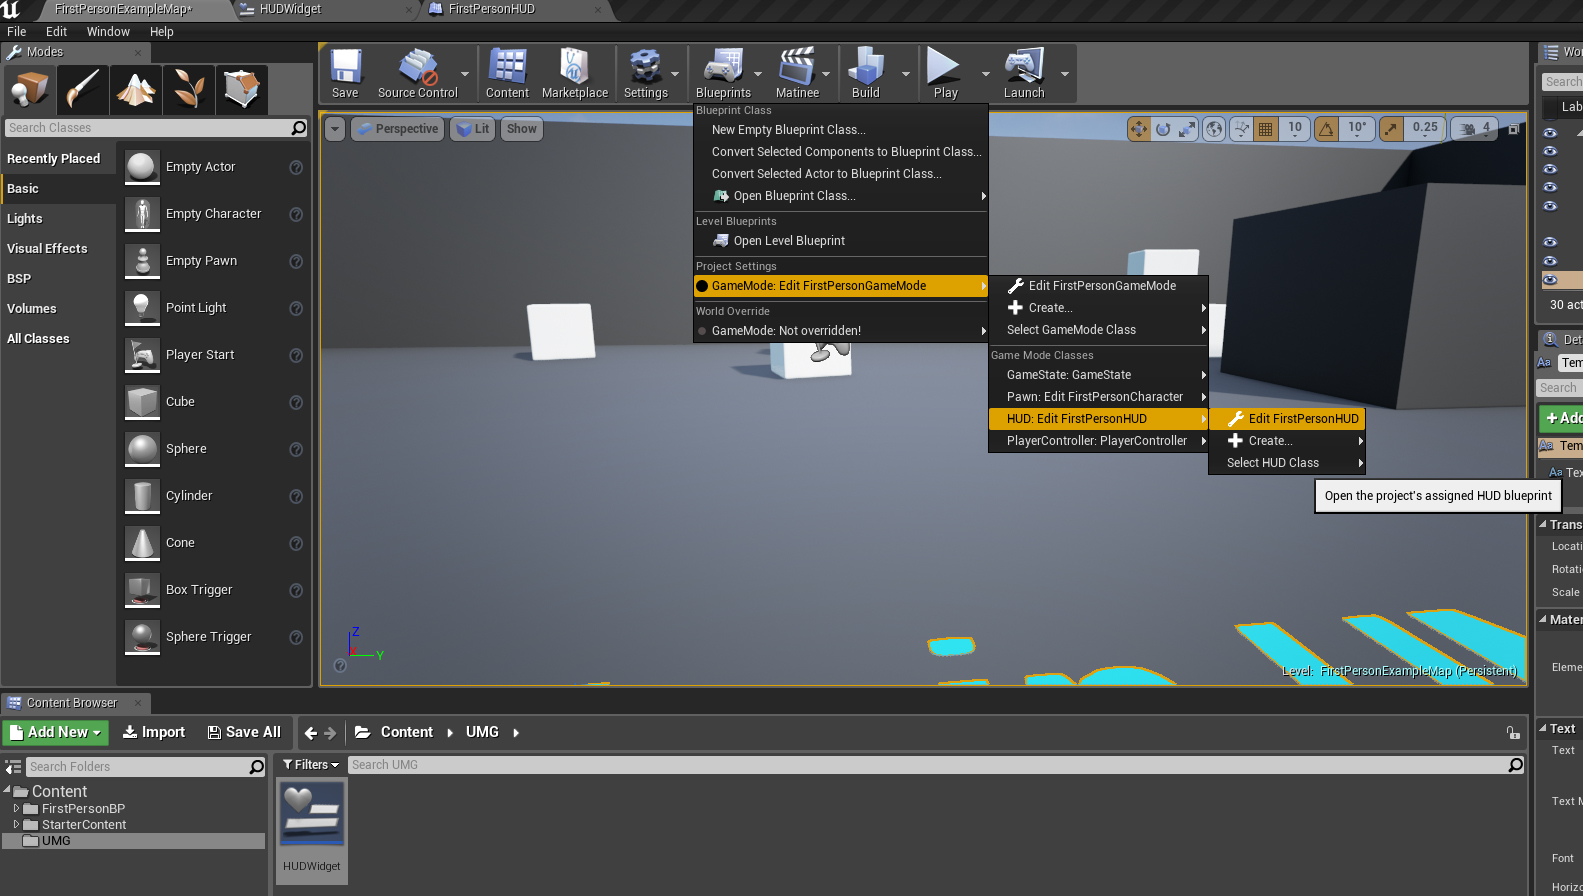
Compile, save and close the UMG editor. In the top Toolbar, edit the HUD Blueprint, its name should be ‘FirstPersonHUD’:
Go the EventGraph, and add this at the end:
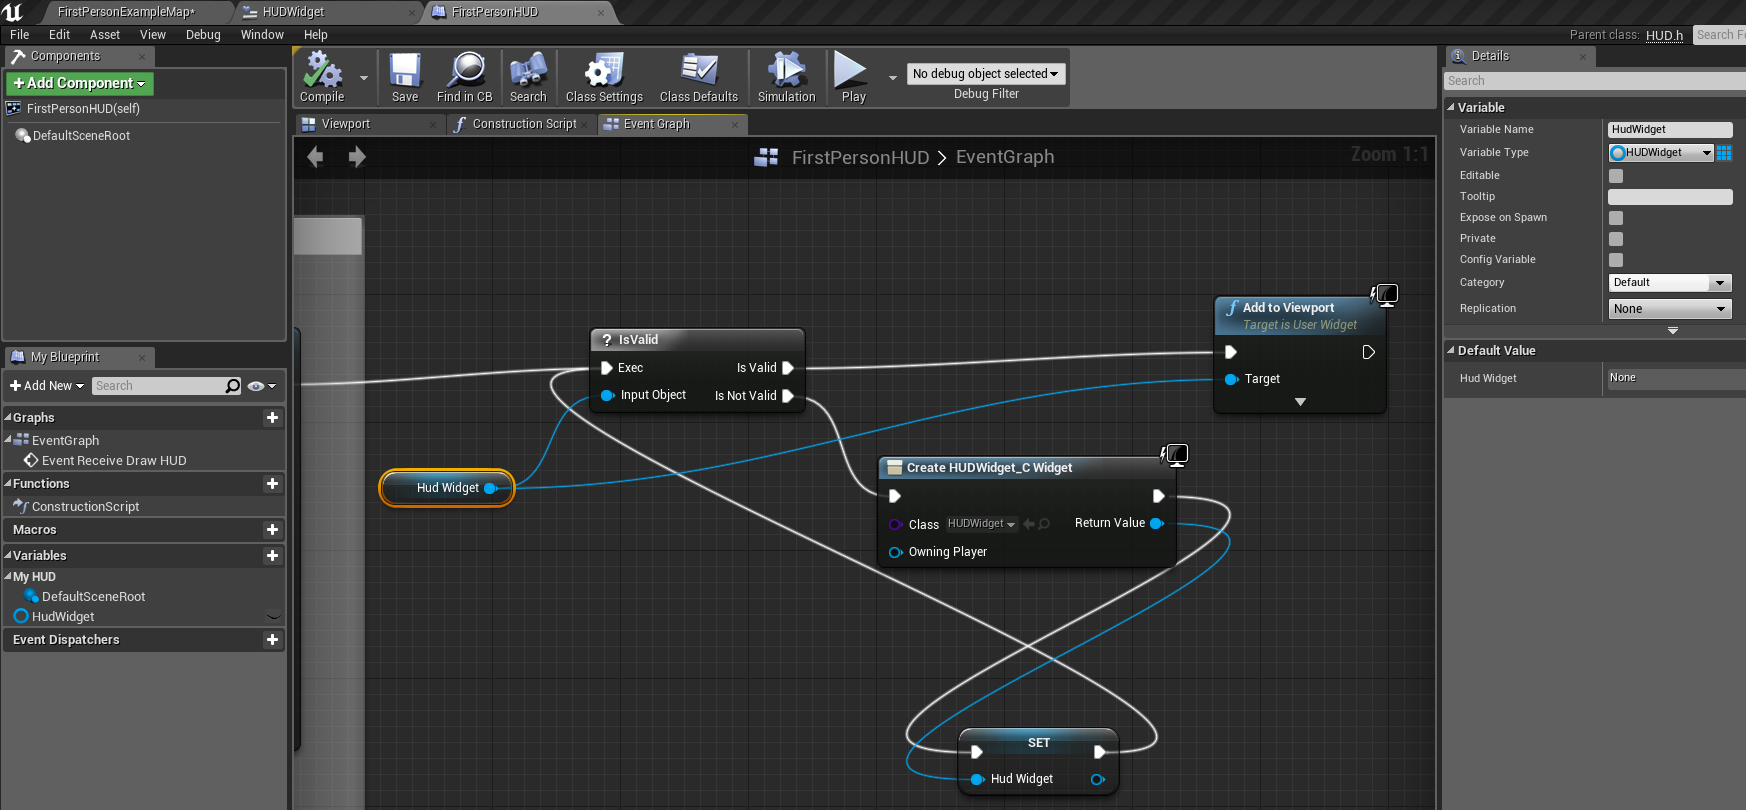 What it does is: create a new widget instance of our previously created HUDWidget (if one does not already exist) and print it on screen while in-game mode.
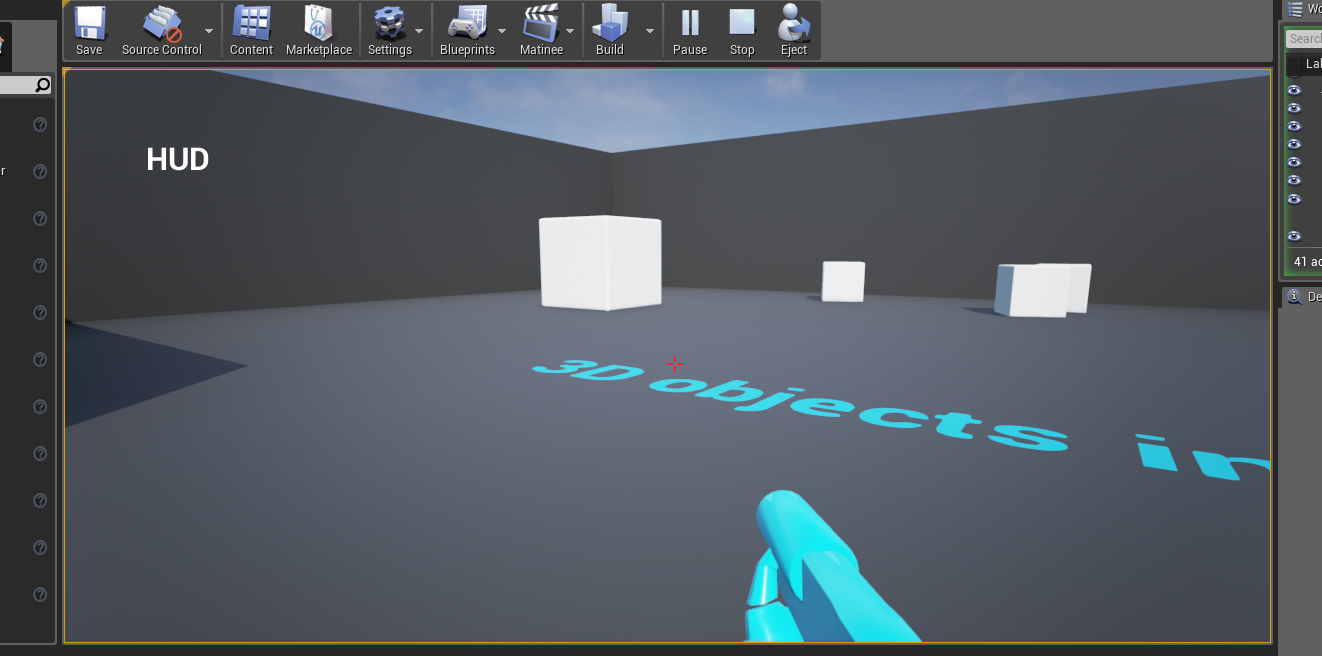
Compile, save, and close this blueprint. Go back to the map screen and hit ‘Play’. You should see your text printed on your HUD. If not, you probably missed something (or is it me?).
Now that you have a working custom UMG Widget in your game HUD, you can add functionnalities to it, I don’t know, a healthbar? A pause menu? Whatever comes to your mind, sky is the limit!

2 thoughts on “Add a UMG Widget to your HUD”